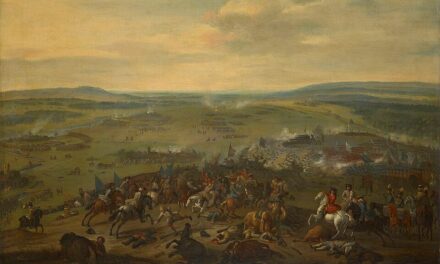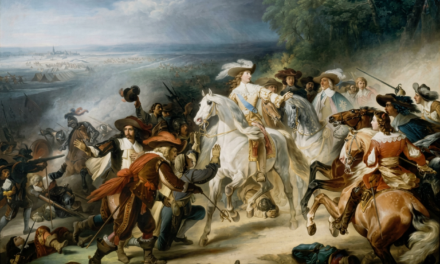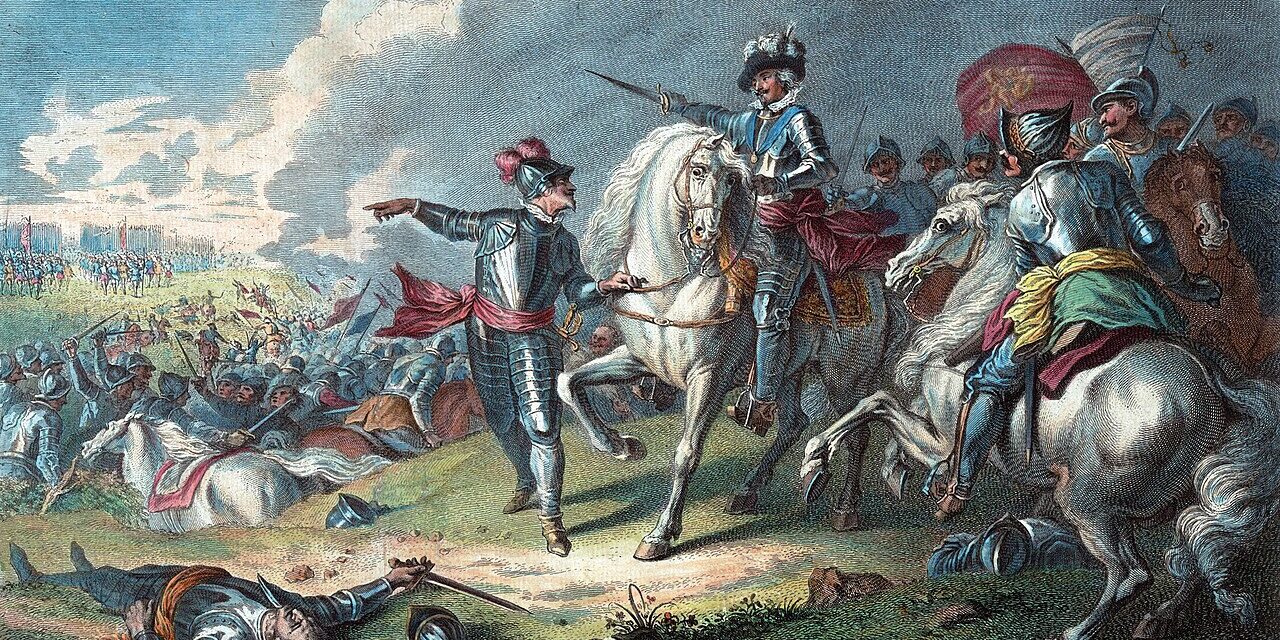
A stone obelisk has stood beside Clipston Road since 1823, marking for generations of visitors where the Battle of Naseby was fought. Modern battlefield archaeology has since shown that the obelisk sits some distance from where the fighting actually happened, a small irony for a battle whose outcome left nothing at all in doubt, whatever ground later generations chose to mark. On June 14, 1645, the New Model Army, Parliament’s newly formed professional force, destroyed the main field army of King Charles I so thoroughly that the Royalist cause never meaningfully recovered, deciding the outcome of the entire First English Civil War in a single, brutally one-sided afternoon of fighting on open Northamptonshire farmland.
Naseby: The Road to Battle
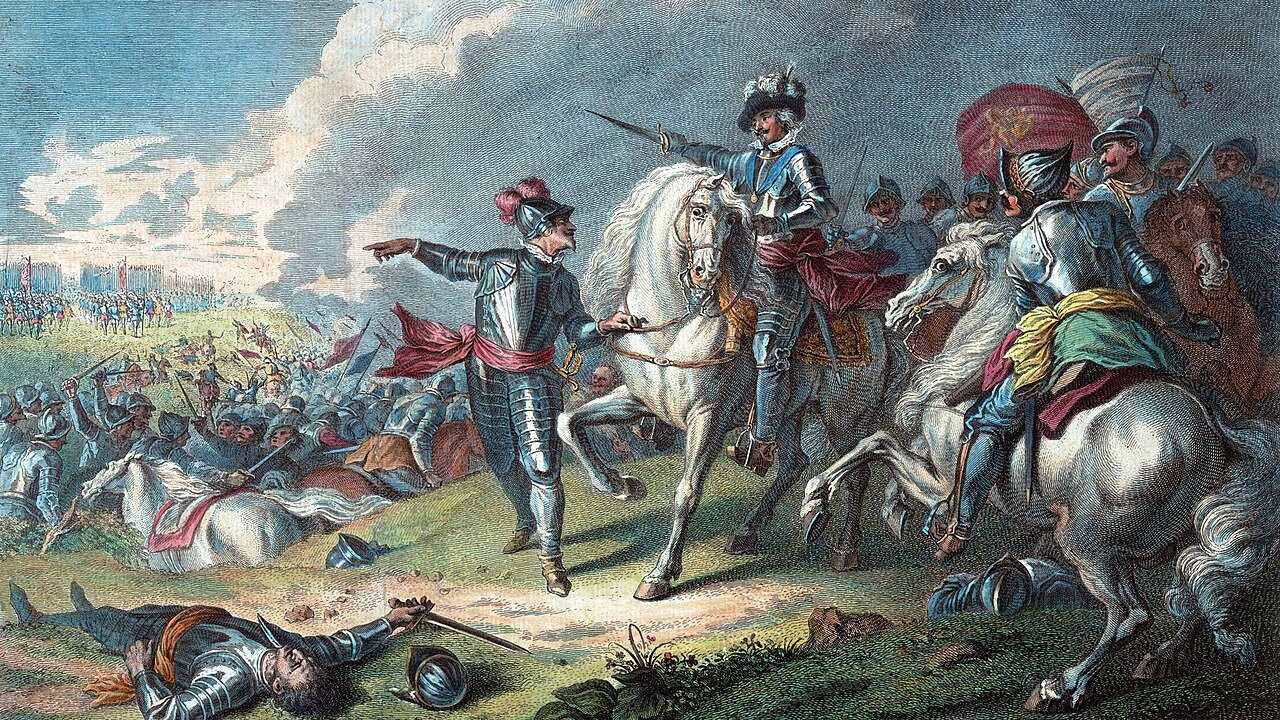
By the summer of 1645, England had been fighting itself for nearly three years, with King Charles I’s Royalist forces and Parliament’s armies locked in a war whose outcome still remained genuinely uncertain despite Parliament’s greater resources, larger population, and control of London and much of the wealthier southeast. Parliament had spent the preceding winter reorganizing its scattered regional armies into a single, professionally paid, centrally commanded force known as the New Model Army, placing Sir Thomas Fairfax in overall command with Oliver Cromwell, already a proven and respected cavalry commander from earlier campaigns, serving as his lieutenant-general of horse. This reorganization represented a deliberate break from the often poorly coordinated county militias and rival regional commanders that had hampered Parliament’s war effort earlier in the conflict, trading local loyalties and short-term enlistments for a disciplined, professionally paid standing military built specifically to fight and win a decisive campaign rather than merely hold territory. Charles, encamped with his own field army in the English Midlands that spring, moved first to relieve the besieged Royalist stronghold of Chester before turning to confront the newly formed Parliamentarian force directly, confident despite being significantly outnumbered, with roughly seven to nine thousand men against Fairfax’s army of well over twelve thousand, including a strong contingent of experienced veteran regiments. Royalist strategy that spring had also been complicated by ongoing disagreements among the king’s own senior commanders over whether to concentrate their remaining forces for a single decisive engagement or continue dividing them across multiple fronts to relieve besieged garrisons, a debate that was never fully resolved by the time battle became unavoidable near Naseby. The two armies converged near the small village of Naseby in Northamptonshire, and on the morning of June 14, Charles, over the objections of some of his own commanders who favored further withdrawal to gather reinforcements, chose to give battle on ground that offered his heavily outnumbered force little natural advantage.
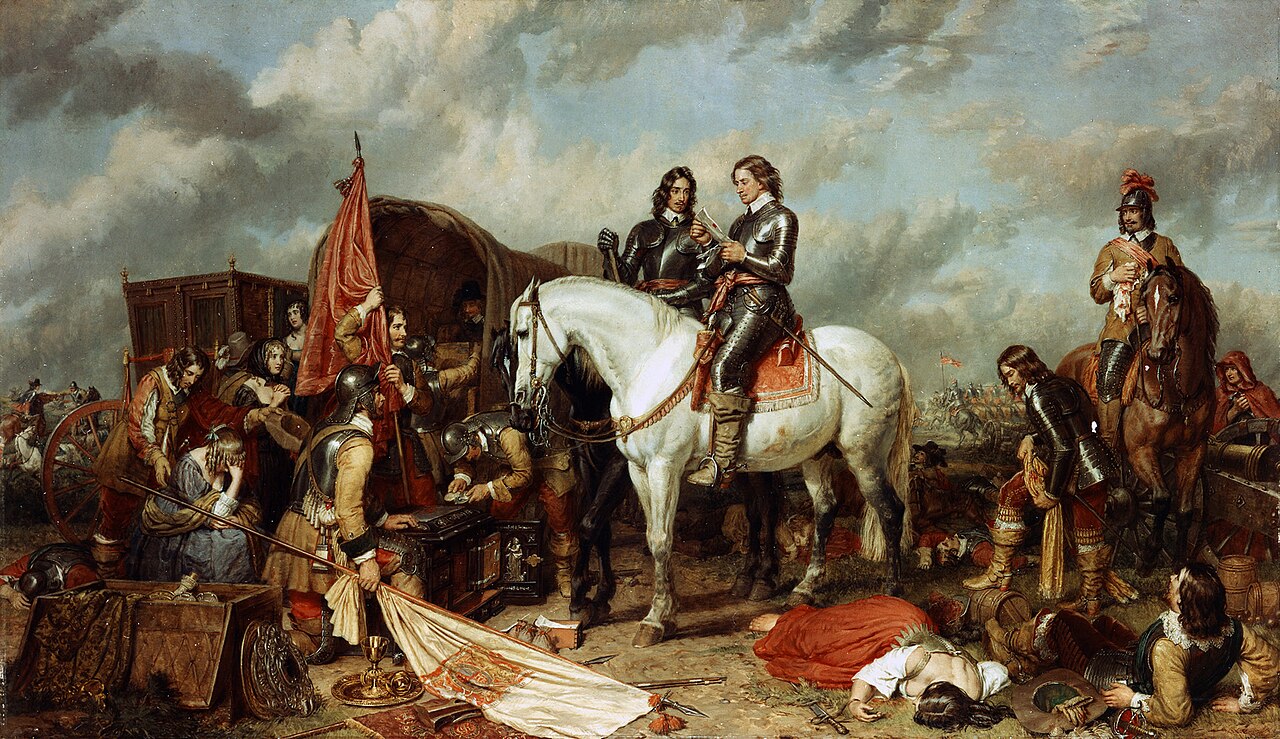
The Battle of Naseby
The Royalist infantry opened the engagement with a determined advance against the New Model Army’s center, and the two lines of foot soldiers closed so quickly across the intervening ground that many men reportedly barely glimpsed their opponents before the fighting collapsed into brutal, close-quarters combat with sword, pike, and musket butt rather than the exchange of volleys that opened most infantry engagements of the era. The initial Royalist push actually drove back part of Fairfax’s front line of foot, and for a short time the outcome in the center hung genuinely in the balance, with Fairfax himself reportedly riding into the melee bareheaded, having lost his helmet, to help steady his wavering infantry. On the Royalist right, the famed and famously reckless cavalry commander Prince Rupert led a devastating charge that broke the Parliamentarian left wing under Henry Ireton, driving those cavalry units from the field in disorder and wounding Ireton himself in the process, a result that on many earlier battlefields of the war had proven decisive all by itself. Rupert, however, repeated a mistake that had cost the Royalists dearly in previous engagements, pursuing the fleeing Parliamentarian cavalry and their baggage train far from the main battlefield rather than regrouping quickly to strike the New Model Army’s now-exposed flank while the larger battle still genuinely hung in the balance. On the opposite flank, Cromwell’s cavalry defeated the Royalist horse facing them just as decisively as Rupert had defeated Ireton’s wing on the other side of the field, but Cromwell, showing the discipline and battlefield awareness that had built his growing reputation over several earlier campaigns in the war, kept his squadrons under tight control after their initial success rather than allowing them to scatter into an uncontrolled pursuit of their own, a restraint that would prove decisive within the hour. With Rupert’s cavalry gone from the field entirely and unavailable to help, Cromwell wheeled his victorious horsemen inward against the exposed flank and rear of the Royalist infantry still grinding forward in the center, catching those foot soldiers in a pincer between Cromwell’s cavalry and Fairfax’s re-forming infantry reserves. The Royalist infantry, absorbing coordinated attacks from multiple directions at once with no cavalry support of their own remaining on the field, collapsed within a comparatively short span of fighting, and by the time Rupert’s cavalry finally returned from its pursuit of the baggage train, the battle was already effectively lost beyond any realistic hope of recovery, its outcome decided in the roughly one hour it had taken Cromwell’s disciplined horsemen to turn the tide. Charles personally attempted to lead a final cavalry charge in a desperate effort to rally his broken army, but was reportedly restrained from doing so by one of his own officers who judged the gesture suicidal, and the king’s remaining forces streamed from the field in a rout that pursuing Parliamentarian cavalry chased for miles across the surrounding countryside, cutting down stragglers and scattering what little organized resistance remained among the fleeing Royalist ranks.
The Legacy of Naseby
Naseby destroyed the Royalist field army as an effective fighting force, along with most of its experienced infantry and veteran officer corps, a loss from which Charles’s war effort never meaningfully recovered despite the conflict grinding on in scattered form for another year. Several thousand Royalist soldiers were killed or captured in the battle and its immediate aftermath, along with the king’s artillery train, and the New Model Army’s reputation as a disciplined, war-winning force was firmly established by the scale of the victory. Among the captured baggage train was the king’s private correspondence, quickly published by Parliament as damaging propaganda revealing his negotiations for foreign Catholic assistance. Charles never again fielded an army capable of meeting Parliament on equal terms, and by 1646 he had surrendered to the Scottish army rather than continue a war he could no longer win.
Visiting Naseby Today
The battlefield survives today largely as open, working farmland stretching between the villages of Naseby, Sibbertoft, Sulby, and Clipston in rural Northamptonshire, crossed by a network of public and permissive footpaths that visitors can walk freely at no charge, a rarer arrangement than at many of Europe’s more heavily developed historic battle sites. The Naseby Battlefield Project maintains several interpreted stops scattered across the site, including Fairfax’s Viewpoint, the nineteenth-century obelisk beside Clipston Road, a separate memorial to Cromwell, and a dedicated viewing platform overlooking Sulby Hedges, each offering a different vantage point on how the fighting unfolded across the surrounding fields that June morning. Because ongoing archaeological survey work, including extensive metal-detecting surveys of musket balls and other battlefield debris, has continued to refine understanding of exactly where different phases of the battle took place, some of the older interpreted stops, including the obelisk itself, now sit at some remove from the locations current researchers believe were most central to the fighting, a reminder that even a well-marked battlefield can still be actively reinterpreted long after its monuments were first built. Spring through autumn generally offers the most comfortable walking conditions across the exposed farmland, and because the land remains actively farmed and grazed, visitors are asked to follow the Countryside Code, keeping to marked paths, closing gates behind them, and respecting livestock and crops along the route. There is no staffed visitor center at the site, so those planning a visit should come prepared with their own background on the battle and the trail layout rather than expecting on-site guidance or facilities of any kind. Sturdy footwear is worth bringing regardless of season, since the paths cross uneven, often muddy farmland rather than paved or gravel walking surfaces, and mobile signal in parts of the surrounding countryside can be unreliable for those hoping to navigate by phone alone.
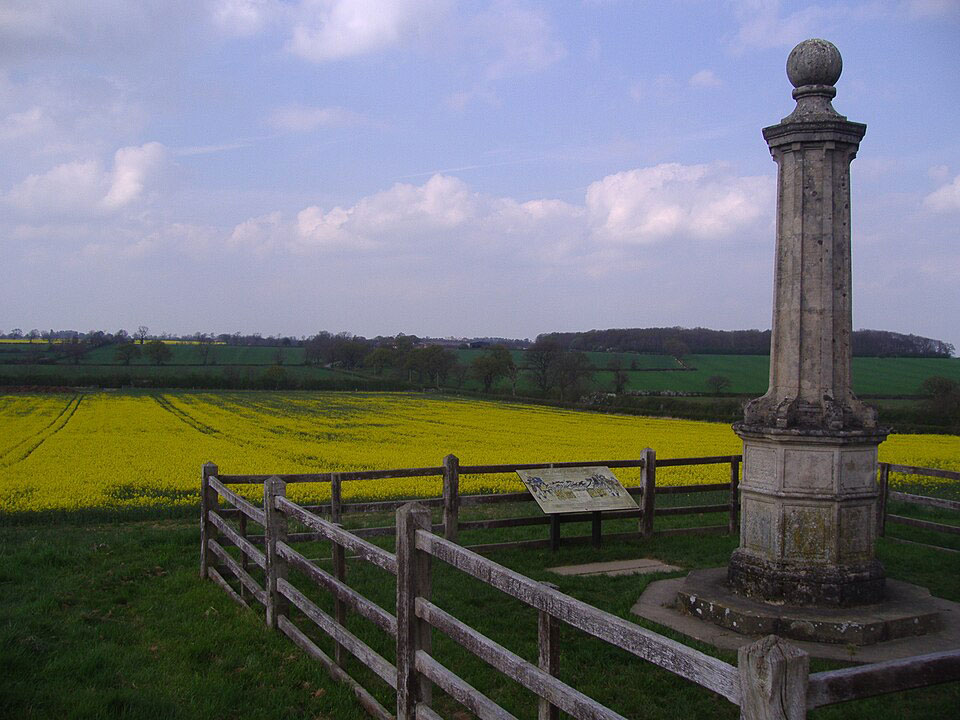
Remembrance at Naseby
Oliver Cromwell himself provided one of the best-known primary accounts of the battle, writing directly to the Speaker of the House of Commons immediately afterward to report the victory in vivid religious terms that framed the outcome as divine judgment against the king’s cause, an unusual step that raised some eyebrows at the time since protocol generally favored the commander-in-chief, Fairfax, reporting first. That letter’s providential language has echoed through descriptions of the battle ever since. Sir Edward Walker, serving as Secretary-at-War within the king’s own camp and present on the field that day, left a very different eyewitness account from the Royalist side, describing the chaotic, close-range infantry clash in the battle’s center in vivid, unsparing detail. A third perspective comes from Joshua Sprigge, a chaplain attached to Fairfax’s staff who effectively served as the New Model Army’s contemporary historian, compiling testimony gathered from numerous participants into the fullest surviving Parliamentarian narrative of the campaign, complete with an early folding battle plan of the fighting at Naseby that remains a valuable reference today. Together, the three accounts, Parliament’s own victorious commander, a voice from deep inside the defeated king’s camp, and a compilation drawn from ordinary participants, preserve the battle from angles that rarely survive so completely from a single seventeenth-century engagement.
Visitor Info: Book titled “Naseby 1645: The Triumph of the New Model Army” by Martin Marix Evans (Osprey Publishing, 2007)
Location: Naseby Battlefield (Obelisk), Clipston Road, Naseby, Northamptonshire, England
Site Status: Preserved Site, Minimal Facilities
Visitation Notes: The battlefield lies in open farmland between Naseby, Sibbertoft, Sulby, and Clipston in Northamptonshire, crossed by public and permissive footpaths with no admission charge. The Naseby Battlefield Project maintains several interpreted stops — Fairfax’s Viewpoint, the 1823 obelisk on Clipston Road, a separate Cromwell memorial, and a viewing platform at Sulby Hedges — though modern battlefield archaeology has shown the obelisk itself sits somewhat off the actual site of the fighting. Spring through autumn is best for walking the trail, and visitors are asked to follow the Countryside Code on this working farmland. There is no staffed visitor center.
Google Map
Visitor Comments
149stuartc describing the well-signposted route off the A14, about ten minutes to Naseby village, with a large lay-by for parking, the obelisk in a small grove across the road, and information boards describing the battle’s morning events — recommended continuing on to Fairfax’s Viewpoint.
— from TripAdvisor
“Well worth a short visit for a piece of important English history” says Charles S, noting that there is parking in the Clipston Road lay-by and that informative boards give reference points for viewing the battlefield.
— from TripAdvisor
“Radar” commented that there’s a detailed self-guided-tour writeup covering ten-plus sites across the battlefield — Fairfax’s Viewpoint, the Obelisk, the Cromwell Monument, Blewcoat’s Stone, the Sulby Hedges platform, and Prince Rupert’s Viewpoint — noting some interpretation boards were being refreshed and advising visitors to follow the Countryside Code on this working farmland.
— from Keep Your Powder Dry (blog)