Twenty thousand Zulu warriors lay hidden in a valley a few miles from the British camp for the better part of a week, close enough in places to hear the camp’s bugle calls, disciplined enough that not one careless cooking fire or raised voice gave the position away. The British officers who rode out that morning to investigate reports of movement in the surrounding hills had no idea they were riding toward the largest concealed army most of them would ever encounter. When word of what that army did next reached King Cetshwayo, he did not celebrate the victory — he is said to have remarked that an assegai had been thrust into the belly of his own nation, understanding immediately what his commanders in the field could not yet see: a British army humiliated on this scale would return, and it would not stop until the Zulu kingdom itself was broken.
Isandlwana: The Road to Battle
In late 1878, the British High Commissioner for South Africa, Sir Bartle Frere, engineered a series of deliberately unacceptable demands on the Zulu kingdom, including an order to disband its highly organized regimental system within thirty days, hoping to provoke a war that would let Britain fold Zululand into its broader plans for confederating southern Africa under colonial control, all without formal authorization from London. When King Cetshwayo’s government failed to meet the impossible ultimatum, a British invasion force under Lieutenant General Lord Chelmsford crossed into Zululand in January 1879 in several columns, confident that European firepower and discipline would make short work of any Zulu resistance, an assumption widely shared across the British military and press at the time despite the Zulu kingdom’s decades-old reputation as the most formidable military power in southern Africa. Chelmsford’s central column advanced to a rocky outcropping called Isandlwana and made camp there, a decision that left the camp without the entrenchments or wagon-laager defenses standard British doctrine called for, since Chelmsford considered a full defensive perimeter unnecessary against what he assumed would be a disorganized native force rather than the disciplined, highly mobile army the Zulu kingdom actually fielded.
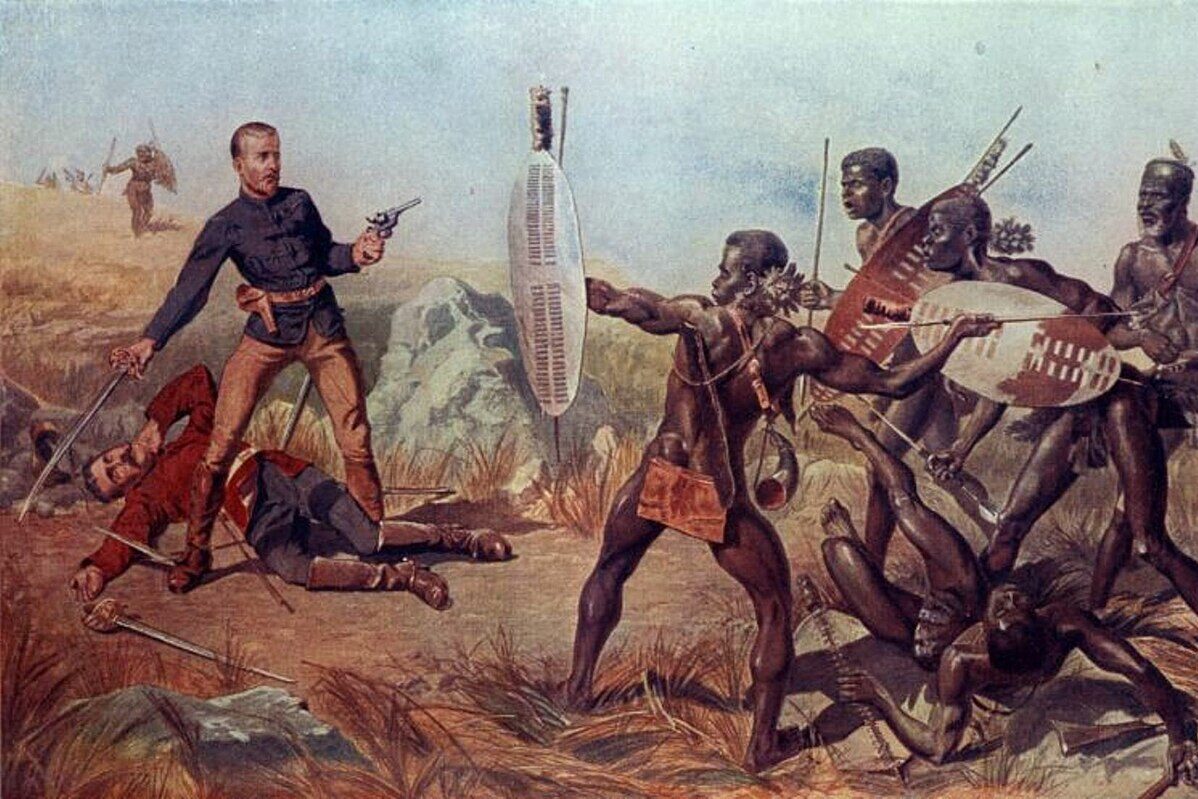
On the morning of January 22, 1879, acting on reports of Zulu movement, Chelmsford split his army, marching out with roughly 2,500 men to pursue what he believed was the main Zulu army several miles away. He left fewer than 1,800 British, colonial, and African auxiliary troops to guard the camp at Isandlwana, a garrison Chelmsford judged more than sufficient given his low estimate of Zulu capability. In fact, the force he had gone to chase was a diversion, and the true Zulu army, some 20,000 strong under the overall command of Ntshingwayo kaMahole Khoza, one of King Cetshwayo’s most experienced generals, lay concealed in the Ngwebeni Valley only a few miles from the undefended camp, having marched for days in near-total secrecy and discipline to reach striking distance undetected, waiting for the moment to strike.
The Battle of Isandlwana
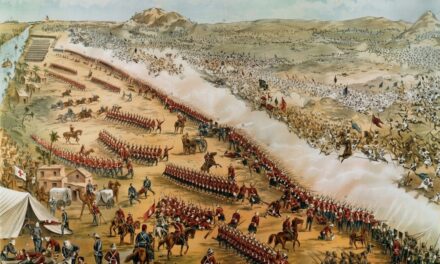
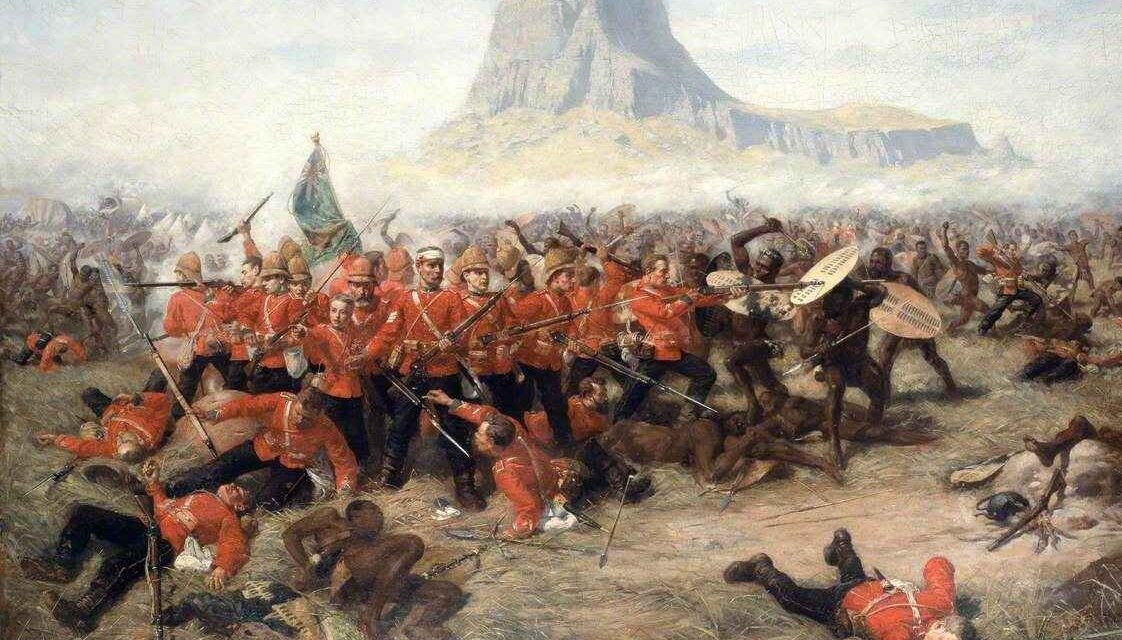
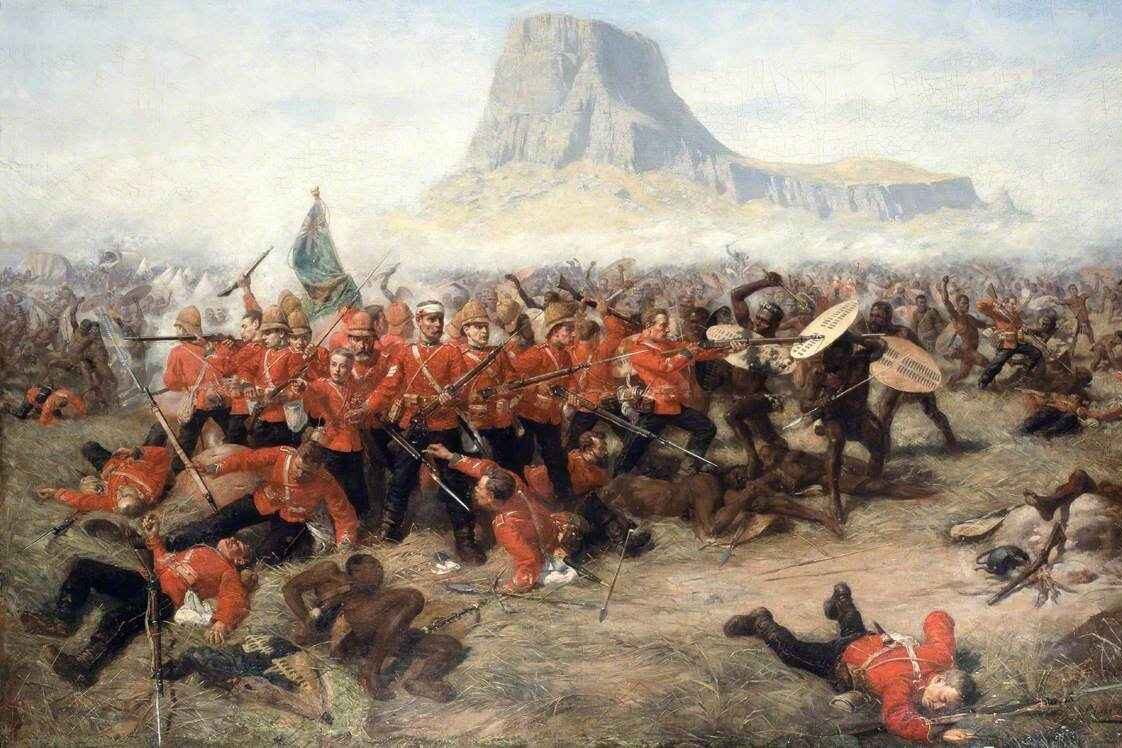
Around 10:30 that morning, Colonel Anthony Durnford arrived at the camp with roughly 500 mounted troops, and rather than simply reinforcing the existing defense, rode out to investigate reports of Zulu movement in the surrounding hills. British patrols searching that same ground stumbled directly onto the concealed main Zulu impi in the Ngwebeni Valley, and Ntshingwayo, his position discovered earlier than planned, immediately launched the classic Zulu encirclement maneuver known as the horns of the buffalo, sending fast-moving flanking regiments wide around both sides of the British position while the main body advanced on the center. Durnford tried to fall back toward the camp but was cut off by the Zulu right horn, and he died fighting on the British right flank as his ammunition ran out, one of many British and colonial officers overrun as the encirclement closed.
The British and colonial troops in the camp, though armed with modern breech-loading rifles and artillery, were spread too thin across an extended firing line to withstand the sheer scale and speed of the Zulu advance, a formation trained to close distance rapidly under fire using terrain and sheer numbers to absorb losses that would have stopped a less disciplined force. As ammunition ran low and the perimeter began to buckle under sustained pressure from multiple directions at once, the defense collapsed into desperate, isolated pockets of resistance. Small groups of soldiers made determined last stands scattered across the plain as the Zulu horns closed the encirclement completely, cutting off any organized retreat, and by early afternoon the camp had been overrun entirely. More than 1,300 British, colonial, and African auxiliary soldiers were killed in the fighting, along with the loss of the Queen’s Colour of the 1st Battalion, 24th Regiment, later recovered from the nearby Buffalo River. When Lord Chelmsford returned to the camp that evening with his main force, he found it utterly destroyed, and in the aftermath he shifted much of the public blame for the disaster onto the dead Durnford rather than his own decision to divide the army in the field.
The Legacy of Isandlwana
Isandlwana remains the worst defeat inflicted on a modern British colonial army by an indigenous African force, a shock that reverberated through British public opinion and forced a fundamental reassessment of the invasion of Zululand, prompting heated debate in Parliament over both Chelmsford’s competence and Frere’s decision to provoke the war without London’s authorization in the first place. Rather than deterring further conflict, the scale of the defeat hardened British resolve, and Chelmsford returned within months with a much larger, more cautious force built around the lessons learned at Isandlwana, including proper defensive laagers and concentrated firepower, that ultimately defeated the Zulu army decisively at the Battle of Ulundi in July 1879, ending the war and beginning the dismantling of the Zulu kingdom’s independence. Cetshwayo himself was captured later that year and exiled, and though he was briefly restored to a diminished authority over part of his former kingdom in 1883, the unified Zulu state he had inherited never recovered, splintering into rival factions that the British had deliberately encouraged to prevent any future unified resistance. Cetshwayo’s grim prediction proved entirely accurate: the victory his generals had won bought Zululand no lasting security, and the kingdom he had tried to preserve through restraint was broken apart within the year under British oversight — a triumph whose price, exactly as its king foresaw from the start, fell on the nation that won it.
Visiting the Isandlwana Battlefield Today
The Isandlwana Visitors Centre sits directly on the battlefield, near the mass graves of the British soldiers killed there, and includes a small museum with a video presentation explaining how the battle unfolded. Entrance costs a modest per-person fee, and the site keeps standard daytime hours that run a little later on weekends — worth confirming current hours before setting out, since they can shift. Scattered white stone cairns across the open plain mark where individual groups of soldiers made their last stands, giving the landscape a quiet, visible record of how the fighting spread and collapsed across the terrain.
Knowledgeable local guides can walk visitors through the site, including the Ngwebeni Valley where the Zulu army lay concealed before the attack, helping visitors understand both the scale of the Zulu force and the tactical decisions that left the British camp exposed. The nearby Isandlwana Lodge offers overnight accommodation, and the battlefield is commonly paired with a visit to Rorke’s Drift, roughly nine miles away, where a much smaller British garrison famously repelled a Zulu attack later that same day; several visitors recommend touring Isandlwana first so the two connected battles unfold in their proper chronological order.
Remembrance at Isandlwana
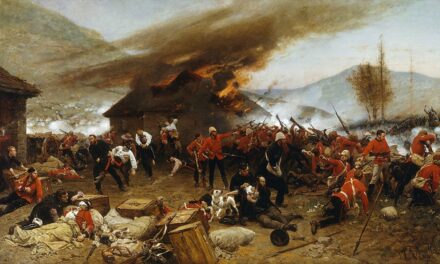
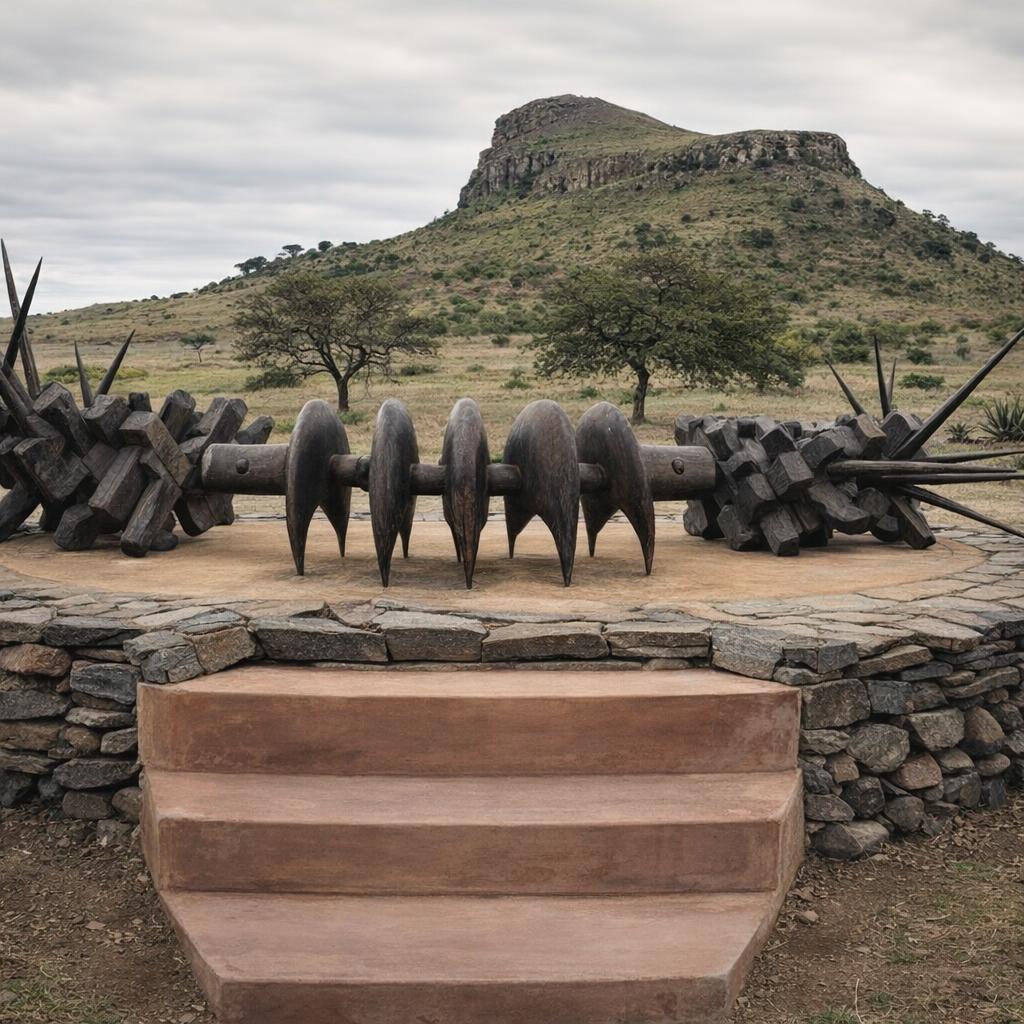
Isandlwana occupies an unusual place in British and South African historical memory, frequently overshadowed in popular telling by the successful British defense at Rorke’s Drift fought hours later on the same day, simply because a defeat makes for a less comfortable national story than a celebrated last stand; eleven Victoria Crosses were awarded for the defense of Rorke’s Drift, more than for any single action in British military history, a level of official recognition Isandlwana’s dead never received despite the far larger scale of the fighting there. Visitors to the battlefield today often remark on how the site’s quiet, unmarked scale, the white cairns scattered across an otherwise open plain, conveys the sheer size and discipline of the Zulu force more powerfully than a conventional monument could, with several noting that Isandlwana deserves greater prominence in the popular telling of the Anglo-Zulu War than it typically receives. For the Zulu nation, Isandlwana endures as a testament to the military skill and organization of Ntshingwayo’s army and the wider Zulu kingdom under Cetshwayo, a rare and decisive victory by an African army over a fully modern European colonial force, remembered with pride distinct from the British commemoration of the battle as a costly lesson in overconfidence.
Visitor Info: www.nam.ac.uk
Location: Isandlwana Battlefield & Visitors Centre, off the R68 between Nqutu and Babanango, Isandlwana, KwaZulu-Natal, South Africa
Site Status: National Park / Managed Historic Site
Visitation Notes: The Isandlwana Visitors Centre sits on the battlefield itself, near the mass graves of British soldiers, and includes a small museum with a video presentation on the battle. Entrance costs a modest per-person fee, and the site keeps standard daytime hours that run a little later on weekends. Scattered white stone cairns across the plain mark where individual groups of soldiers made their last stands, and knowledgeable local guides can walk visitors through the terrain, including the Ngwebeni Valley where the Zulu army lay concealed before the attack. The nearby Isandlwana Lodge offers overnight accommodation, and the site is commonly paired with a visit to Rorke’s Drift, nine miles away.
Google Map
Visitor Comments
411annaw, visiting from Taunton, United Kingdom, had a guide who filled in the background of the battle and pointed out lesser-known details of Zulu military history, noting how Isandlwana tends to get overshadowed by Rorke’s Drift in the popular telling. They described the wide-open landscape and the white stone cairns marking where soldiers made their final stands, and found it a reflective place to imagine the vast, well-organized Zulu army approaching.
— from TripAdvisor
Bryn E found the site sobering and moving, particularly given the heavy Welsh losses among the British troops there. Their guide was praised as knowledgeable, and they noted the numerous stone cairns marking mass graves scattered across the field, advising future visitors to bring warm clothing given the cold, windy conditions.
— from Google Reviews
CourteneyGeorge, from Paternoster, South Africa, praised guide Foy Vermaak for combining video clips, spoken narration, and a scale model at Rorke’s Drift to explain how the battle unfolded. They found the white stone cairns marking where soldiers fell particularly moving, and were impressed by how well the site was maintained.
— from TripAdvisor
Steadyslack, visiting from Exeter, United Kingdom, stayed at Fugitives’ Drift Lodge and called guide Doug Rattray’s narration of the battle brilliant. They recommended visiting Isandlwana before Rorke’s Drift so the two battles unfold in their proper chronological order.
— from TripAdvisor